We've been having fun the last few weeks sewing Christmas Cheer by Cotton Way. If you haven't joined us yet, it's not too late. The pattern can be purchased here. The fabric we will be using is Vintage Holiday by Bonnie and Camille. The kit can be purchased here. I will not be posting measurements of the pieces. You will have to purchase the pattern to find this information.
We're on Row 5 Peppermints. These are simple half square triangles with a twist and who doesn't love a little peppermint at Christmas time.
I chose 5 greens, 4 reds and 9 whites. I did not use the background fabric for any of my peppermints. I wanted my peppermints to stand out from the background fabric.
I chose 6 whites and used 3 of them a second time.
You will need to cut each fabric according to directions. I cut my squares 1/8" larger, so I could trim my blocks. You will also need 36 C squares and your filler strips.
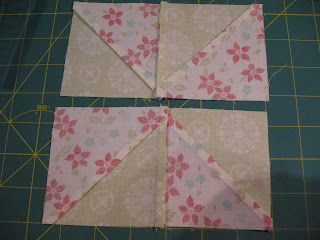
Follow step 1 by marking the white squares from corner to corner.
Sew on both sides of the squares, cut apart, press, and I pressed to the dark fabrics. Trim to 3-1/2". I found that it was easier to trim the individual squares now, instead of waiting until the block was completely sewn.
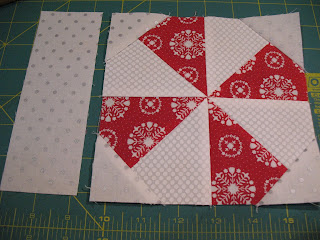
Arrange your block according to the pattern and above. Sew together.
Here is the back of how I pressed to get good points.
Next, mark all of your white background squares from corner to corner. You will sew on the line of your white block from corner to corner. I sewed a square onto each block, rotated, then sewed squares onto the next side. Once I made it around all of my blocks, I trimmed to 1/4" and pressed to the background fabric.
The next step is deciding how you want your blocks arranged.
After deciding, I sewed my end strip to my farthest left block and sewed my filler strips on the left hand side of all of my blocks.
Then sewed them in pairs.
Pretty soon, I had this row completed. Trim. You'll measure the same as before. Find the center and measure out 36-1/4" for the left side, then measure for the right side. Add another sashing strip and you are finished.
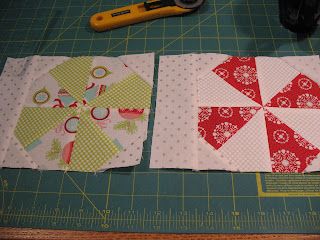
Sorry, about the pic. These are a few of my other projects I'm working on at the same time. I'll get another pic and post on Facebook. Have a fun time sewing this block.


No comments:
Post a Comment