
Welcome to Block #7: Four Way Stop, from our Saturday Sampler 2014, Sew and Tell Series.
Our block patterns will be posted on the 2nd Saturday of each month, so check back through the year to make all twelve sampler blocks with us.
Need to catch up on Blocks 1-6? Start HERE.
Our blocks are 12 1/2" x 12 1/2" (12" x 12" finished)
All seam allowances are 1/4".


What to Cut:
A: Peapod:
A: Cut 1 3/4” strip, sub-cut (4) Template A
B: Tulip:
B: Cut 1 3/4” strip, sub-cut (4) Template A
C: Glacier:
C: Cut 1 3/4” strip, sub-cut (4) Template B
D: Pomegranate:
D: Cut 1 3/4” strip, sub-cut (4) Template A
E/F: White:
E: (2) 4 3/8” x 4 3/8”
F: (4) 2 1/4” x 2 1/4”
G/H: Light Grey:
G: (2) 3 11/16” x 3 11/16”, cut in quarters diagonally
H: (2) 4 3/8” x 4 3/8”

Pair a 4 3/8” white square and light grey square right sides together. Draw a diagonal line on the wrong side of the white fabric.
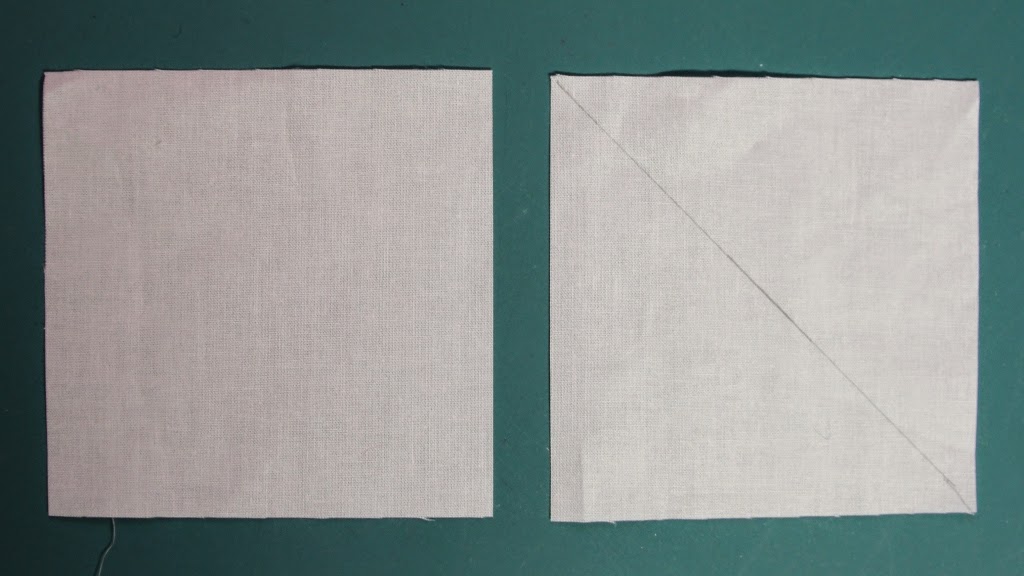
Sew 1/4” from both sides of drawn line.

Press towards grey. Unit should measure 4” x 4”. Repeat to make a total of 4 half-square triangles.

Cut the (2) 3 11/16” x 3 11/16” squares in quarters diagonally.

Arrange the G light grey triangles and the F white 2 1/4” squares as shown.

Sew the light grey triangles to adjacent sides of the white square. Press towards grey triangles. Make four units.


Cut templates from the 1 3/4" strips. It is important that you get mirror images for the left and right side of the block. To cut multiple pieces at once, stack the two fabrics for the left and the two fabrics for the right side of the block on top of each other with all fabrics right sides up.

Place templates on top of the 1 3/4" strips. Cut four templates of each color.


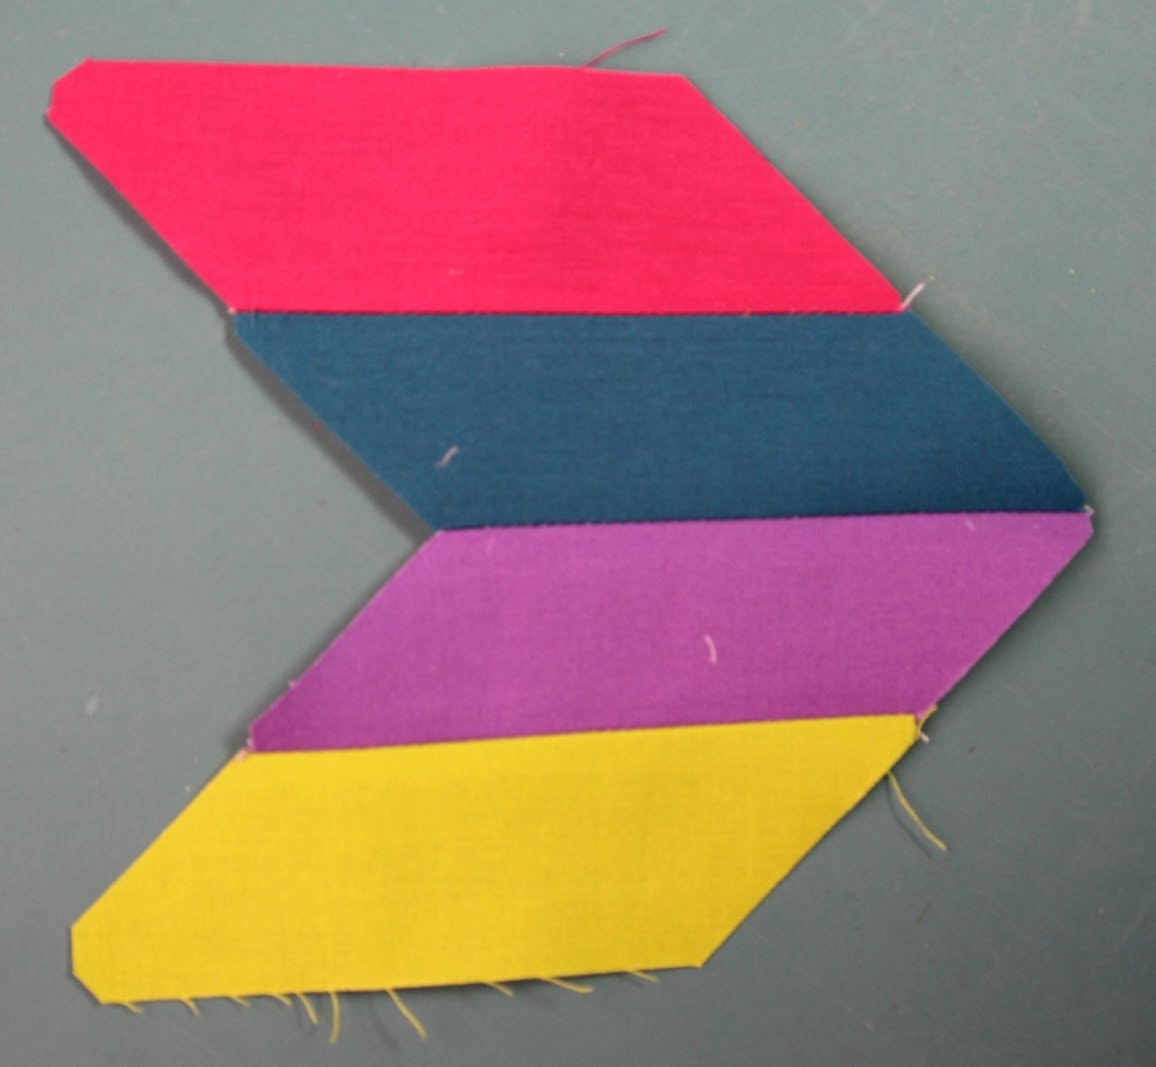
Arrange the four colored pieces for each block section as shown below.

Place the two fabrics for the left side of the block right sides together. Stitch as shown below.
Place the two fabrics for the right side of the block right sides together. Stitch as shown below.

Make four of each section.

Place sections together. Sew as shown below, stopping and starting a 1/4" from the beginning and end of the unit as indicated by the dots on the image below. Make four sections.

Lay units right sides down as shown. Use a pencil to draw a line a 1/4" from the inner edges of the block units.


Pivot the unit so that the right edge of the triangle matches the right inner edge of the unit. Sew as indicated by the 2nd stitching line, stopping at the dot.


Press seams away from the triangle section. Make four sections.


Draw a line 1/4" from the edges of the inner block units.
Place two block units right sides together. Stitch as shown, stopping at dot. Press seam open.

Make two units.

Place units right sides together, matching intersecting seams. A helpful hint is to place a very tiny piece of double stitch tape in the seam allowance at the matching points. This will help hold the edges together without the shifting that can occur when using pins. Sew seam, stopping at dots. Press seam open.


Block should look like this at this point.

Draw lines on wrong side of fabric 1/4" from the inner edges of the corner sections.

Place half square triangle right sides together with center block unit. Stitch as shown, stopping at dot.

Pivot block to line up adjacent edge of the half square triangle with the adjacent edge of the center block unit.

Stitch, stopping at dot.


Block should measure 12 1/2" x 12 1/2".