July 30, 2018

7/30/2018 Peppermints

We're in for a lot of fun sewing in the next few weeks. We will be sewing Christmas Cheer by Cotton Way.  The pattern can be purchased here. The fabric we will be using is Vintage Holiday by Bonnie and Camille. The kit can be purchased here. I will not be posting measurements of the pieces. You will have to purchase the pattern to find this information.


We've been having fun the last few weeks sewing Christmas Cheer by Cotton Way. If you haven't joined us yet, it's not too late.  The pattern can be purchased here. The fabric we will be using is Vintage Holiday by Bonnie and Camille. The kit can be purchased here. I will not be posting measurements of the pieces. You will have to purchase the pattern to find this information.

We're on Row 5 Peppermints. These are simple half square triangles with a twist and who doesn't love a little peppermint at Christmas time.

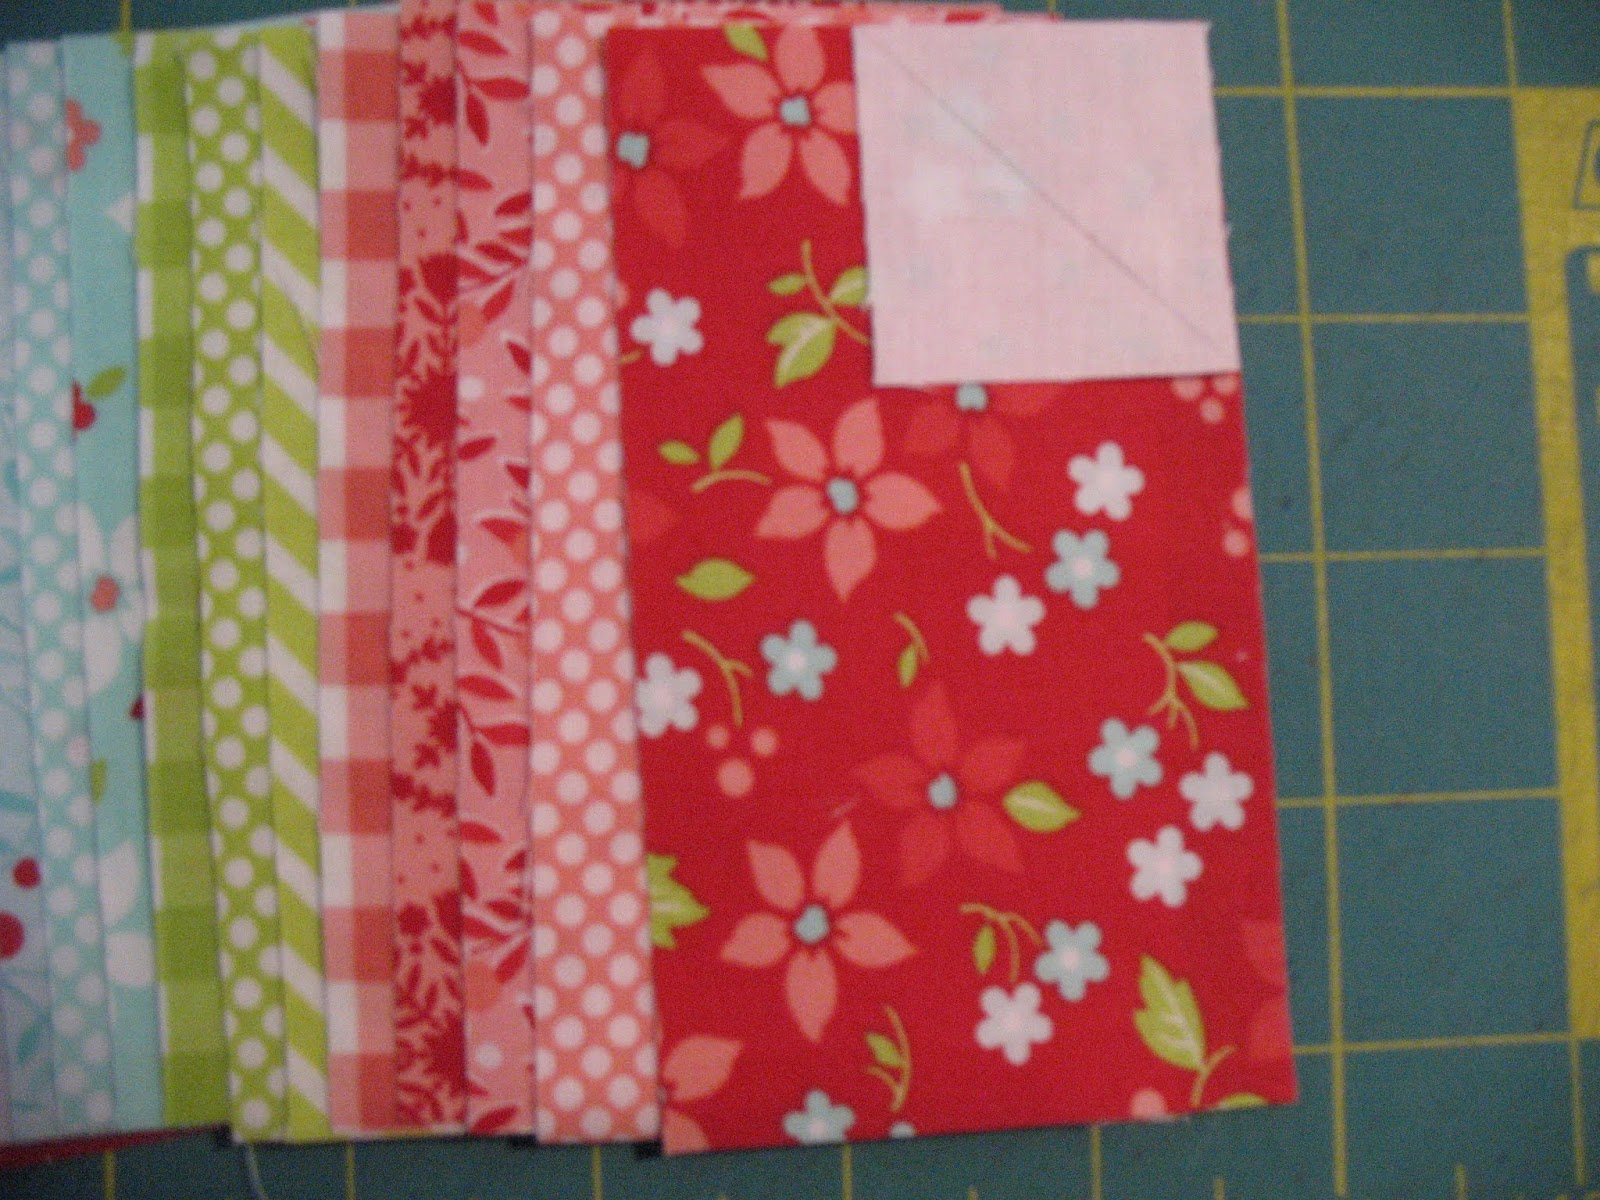
I chose 5 greens, 4 reds and 9 whites. I did not use the background fabric for any of my peppermints. I wanted my peppermints to stand out from the background fabric.


I chose 6 whites and used 3 of them a second time.


You will need to cut each fabric according to directions. I cut my squares 1/8" larger, so I could trim my blocks. You will also need 36 C squares and your filler strips.


Follow step 1 by marking the white squares from corner to corner.


 Sew on both sides of the squares, cut apart, press, and I pressed to the dark fabrics. Trim to 3-1/2". I found that it was easier to trim the individual squares now, instead of waiting until the block was completely sewn.


Arrange your block according to the pattern and above. Sew together.


Here is the back of how I pressed to get good points.


Here is the back of my block. I have swirled by seam. Unpick the outermost stitches (two or three) of the perpendicular seams. From here you'll be able to fan the seams creating a cute square. Fan the seams to all run the same direction all around the block.

Next, mark all of your white background squares from corner to corner. You will sew on the line of your white block from corner to corner. I sewed a square onto each block, rotated, then sewed squares onto the next side. Once I made it around all of my blocks, I trimmed to 1/4" and pressed to the background fabric.


The next step is deciding how you want your blocks arranged. 

After deciding, I sewed my end strip to my farthest left block and sewed my filler strips on the left hand side of all of my blocks. 

Then sewed them in pairs.

Pretty soon, I had this row completed. Trim. You'll measure the same as before. Find the center and measure out 36-1/4" for the left side, then measure for the right side. Add another sashing strip and you are finished. 

Sorry, about the pic. These are a few of my other projects I'm working on at the same time. I'll get another pic and post on Facebook. Have a fun time sewing this block.

July 16, 2018

July 16, 2018 Hearts

We're in for a lot of fun sewing in the next few weeks. We will be sewing Christmas Cheer by Cotton Way.  The pattern can be purchased here. The fabric we will be using is Vintage Holiday by Bonnie and Camille. The kit can be purchased here. I will not be posting measurements of the pieces. You will have to purchase the pattern to find this information.


How is everyone doing on their rows? If you're behind don't worry...the blocks are easy and you can get caught up easily. We're onto row 4, hearts. This is a simple block to make and I'll give you a few hints to make it even easier. Let's get started.

First things first...decide on your fabrics for your hearts. I decided on these.


You will need to cut 2 each of all 14 fabrics. These are your A blocks.

Cut out background fabrics. You will need 56 B pieces and 28 C pieces.  You will also need to cut your filler strips and your end strips. Check your pattern for sizes and directions from the designer.

Here are my fabrics all grouped together.


I then sorted each of these into a left heart and a right heart.


Attaching B to heart...I marked a line from corner to opposite corner of the small B square, sew on the line marked on B for the inner corner of the left side of the heart. I pressed the left side of the heart to the colored fabrics. It will make it easier to nest your fabrics together when you're sewing the hearts together.

Tip! Sit directly in front of your machine, so you are looking directly at where your needle sews into  the fabric. You will get a more accurate seam, by sitting directly in front, so your view isn't off a little.

Do the same thing with the right side of the heart by adding the B square. Trim to 1/4" and press. I pressed this seam to the white.


Add the B squares after you mark the lines and sew on the line to the outer sides of the heart for the left and right side. Trim to 1/4" and press. I pressed this seam to the white.


Next I marked all of my C squares from corner to corner. I attached all of my C squares to my hearts, then attached the C squares to the right side of my hearts. Trim to 1/4" and press the left side seams to the colored fabrics and the right side seams to the white fabrics.


Sew both sides of heart together for each fabric. I pressed this seam open because of bulk.


Here is a pic of my pressing.


I then decided how I wanted my layout.


I stacked them up in the order from I wanted them from left to right, with the farthest left being on top and sewed an end strip to the first heart and then started sewing my sashing strips to the left side of all the hearts. (I added the right end strip later.) I pressed each row to the sashing strip. (I used a leader/ender to be able to press everything at one time and keep everything in order.)


I then stacked them up again (in order) and sewed heart 1 and 2 together, 3 and 4 together and so on, once again using a leader/ender to press together and keep in order.


And voila, everything went together perfectly. Measure once again from the center out for 36-1/4", trim and measure the opposite side.


Here is my completed row.  I then sewed my sashing strip to the bottom of this row and added this row to the completed rows 1-3. Check out Facebook for the my completed rows.

I'll be back in two weeks and we'll be working on the Peppermints.

July 2, 2018

7-2-2018 Santa Hat's

We're in for a lot of fun sewing in the next few weeks. We will be sewing Christmas Cheer by Cotton Way.  The pattern can be purchased here. The fabric we will be using is Vintage Holiday by Bonnie and Camille. The kit can be purchased here. I will not be posting measurements of the pieces. You will have to purchase the pattern to find this information.


The next two weeks we'll be working on the Santa Hat Row. It looks like a lot of pieces, but I've sewn mine and I'll give you pointers so you "hopefully" won't make the same mistakes I did.

The first thing I did was choose five red prints. They can be any of the reds.


I started on page 4 and cut out all of my white fabrics and labeled them. Remember, the amounts listed are for one block and we make five, so you'll have to cut 5 of A thru Q.  I cut all of my pieces the exact size.


Next, I cut out my red pieces R, J, O, N. I stacked a couple of my reds when I cut saving a little time.
Lastly, I pulled my white/silver stripe. Here is where I almost made my first mistake...you will want your stripe running up and down, so you'll need to cut along the 18" side. 


Follow instructions for step 1.


Next, follow instructions for step 2.


Press O/P seam towards red, so the seam will nest with the next step.
Press this seam open to reduce bulk.


Press the hat band towards the hat.


Sew M/N together and press towards N (white). Continue sewing as directed.


Here is the back of the block showing which way I pressed.


Decide on the layout of your row. You will now start to add your sashing strips. I added mine to the left side, chain sewing all of the Santa hats. After I attached all of them together I added the last sashing strip to the right side.


You will now find the center of the row and measure for 36-1/4" on each side of the center and trim if needed. 


You have another row finished and are able to sew to your other rows.


You will not need to add any sashing to this row of Santa Hats. 

The next row we'll be working is Row #4, the Heart blocks. 
We'll see you in two weeks. If you have any questions, please post them on the Facebook page and don't forget to show off your rows.